View completed bonus payouts
When the bonus system is active for a target agreement process, an additional “Payouts” tab appears in the edition overview. There you see all payouts made so far for the current edition.
Open the payouts
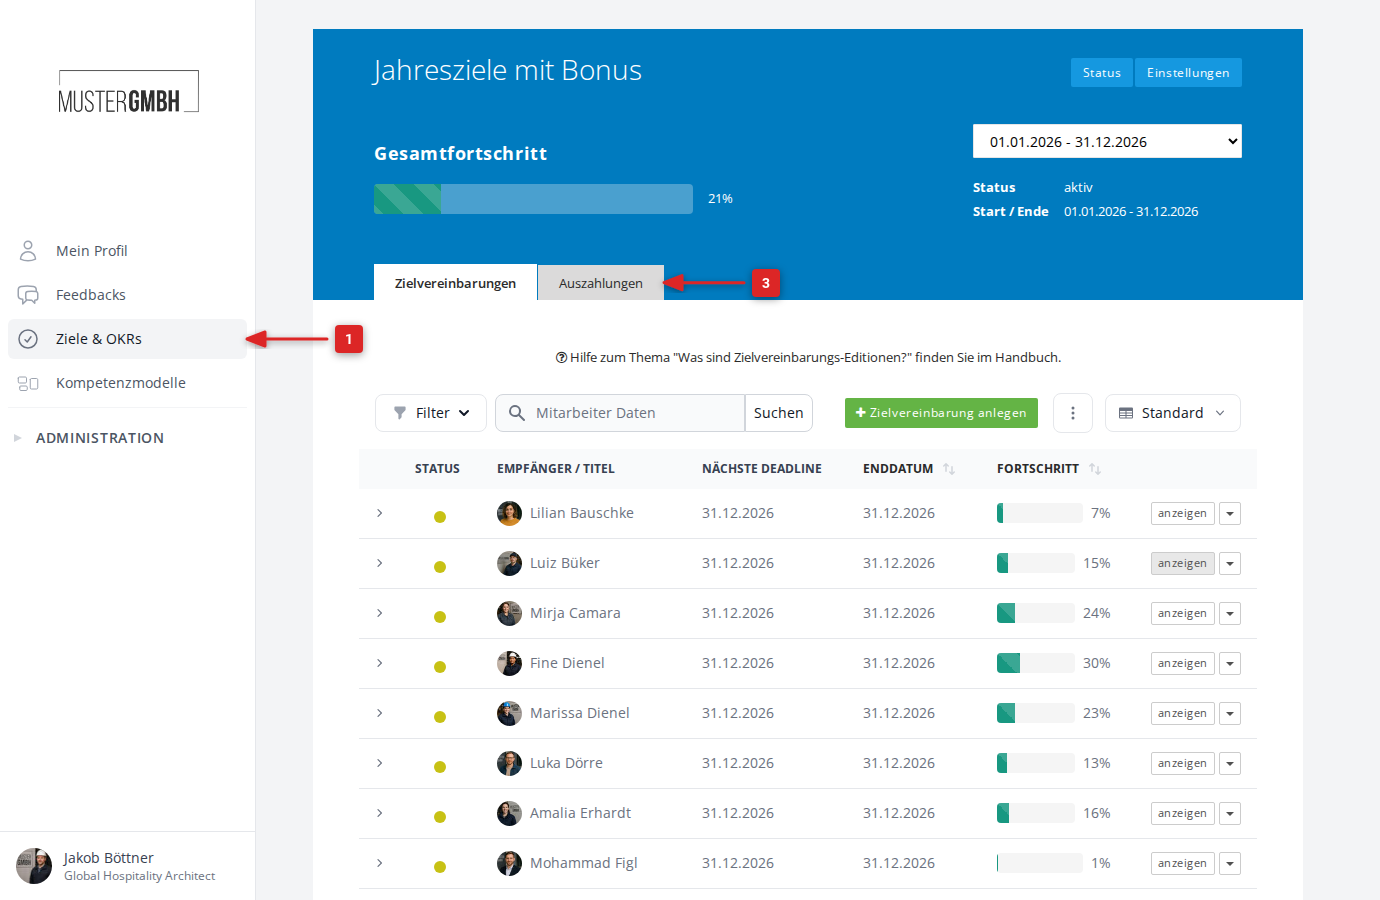
- In the sidebar, click “Objectives”.
- Open the process you want.
- Click the “Payouts” tab.
The payout list
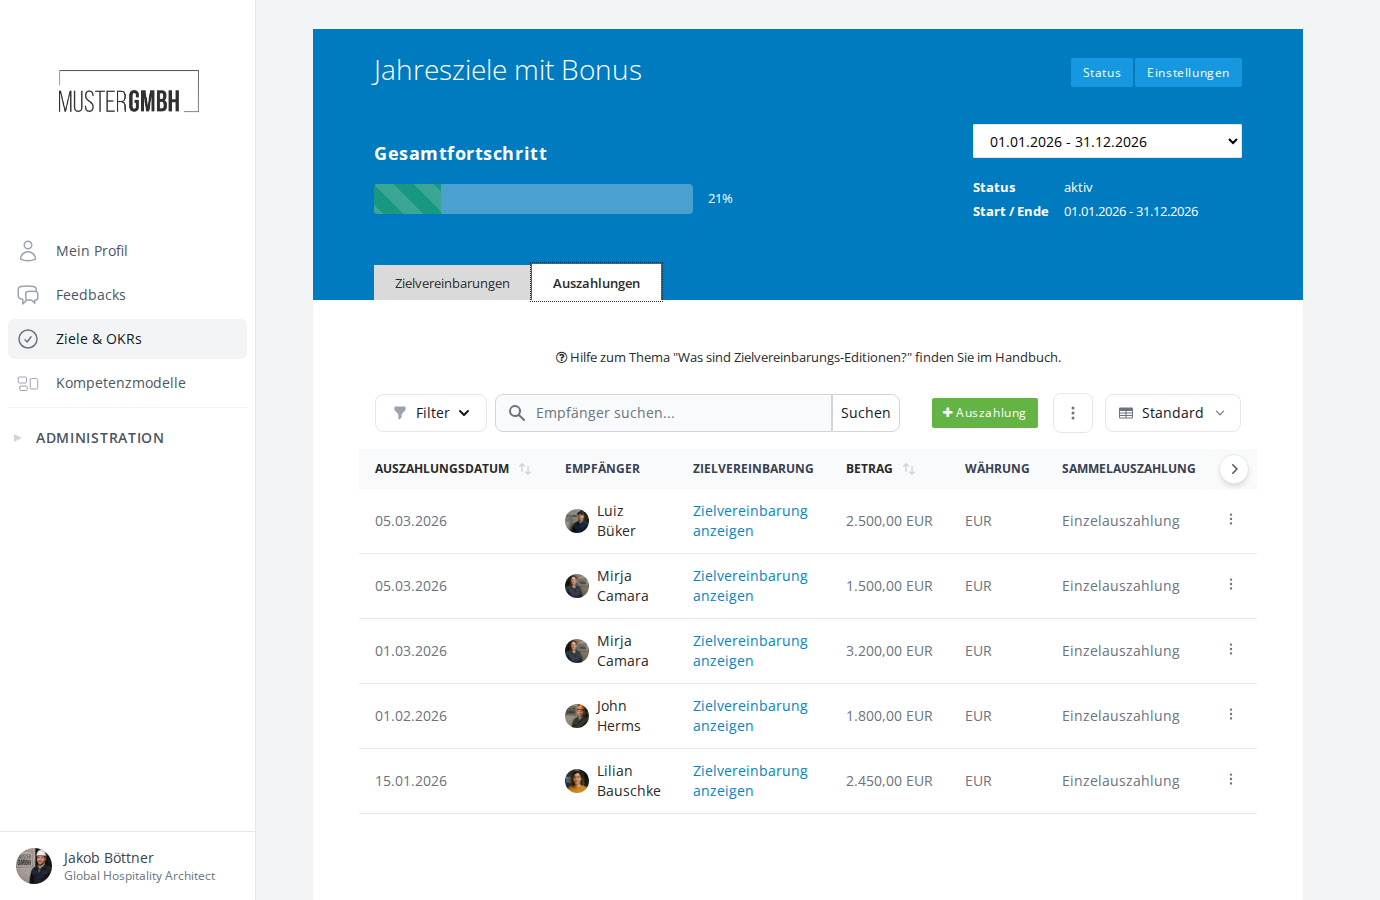
The list shows all payouts made, sorted by date (newest first). Each row contains the following information:
| Column | Description |
|---|---|
| Payout date | The date the payout was created. This column is sortable. |
| Recipient | The name of the employee. Clicking the name opens the profile. |
| Objective | A link to the recipient’s associated target agreement. |
| Amount | The amount paid out in the respective currency. This column is sortable. |
| Currency | The currency of the payout. |
| Bulk payout | Shows whether the payout was created individually or as part of a bulk payout. |
Below the list you see the total number of payouts.
Search and filter
Above the list you find a search bar and a filter button.
Type a recipient’s name in the search field and click “Search” to filter the list. Use the “Filter” button to filter the payouts by various criteria.
Configure list views
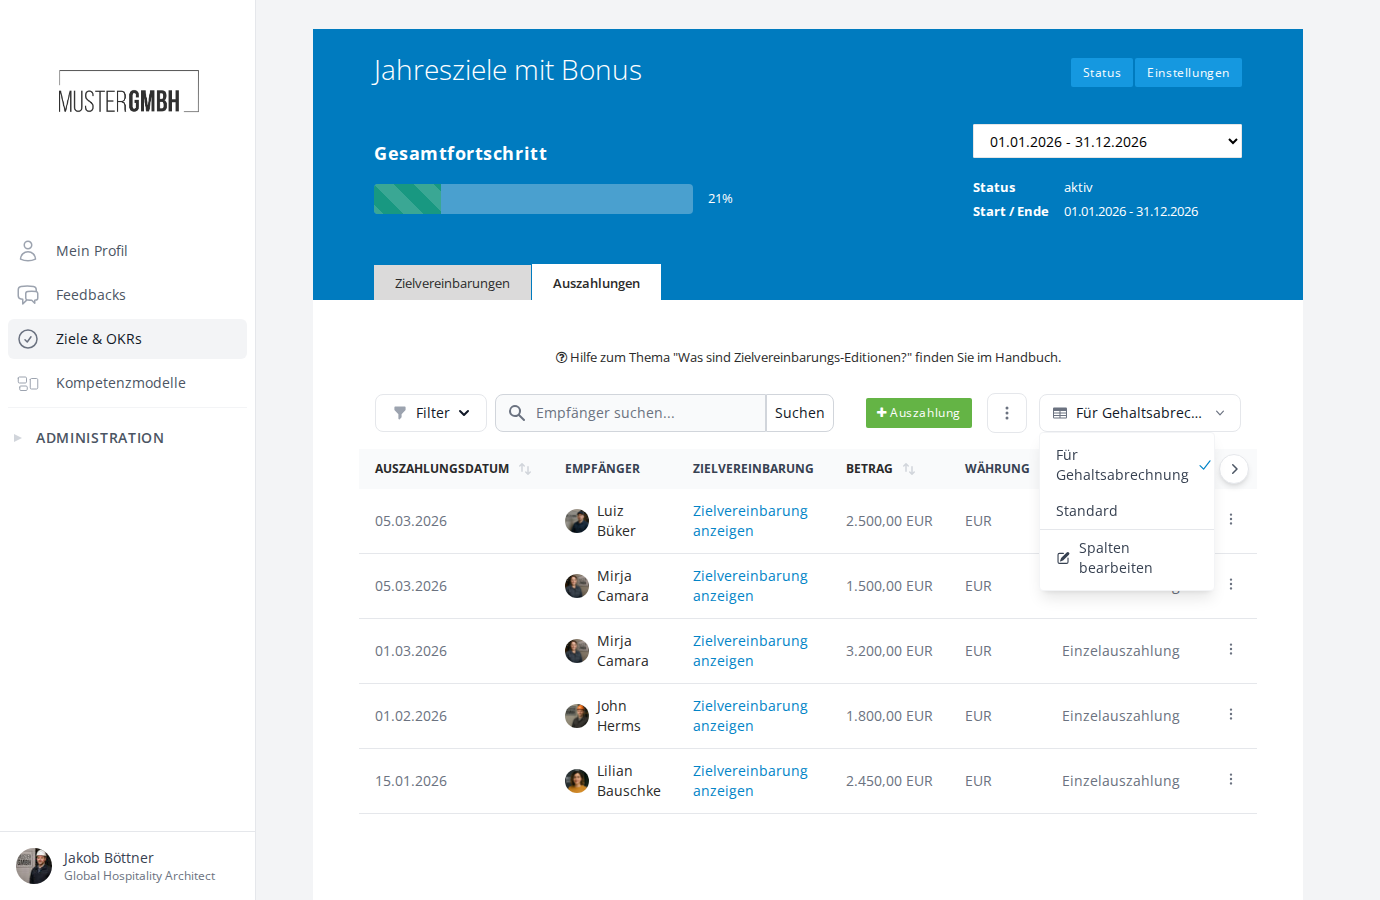
To the right of the search bar is the view selector. It shows the name of the currently active configuration (for example “Standard”).
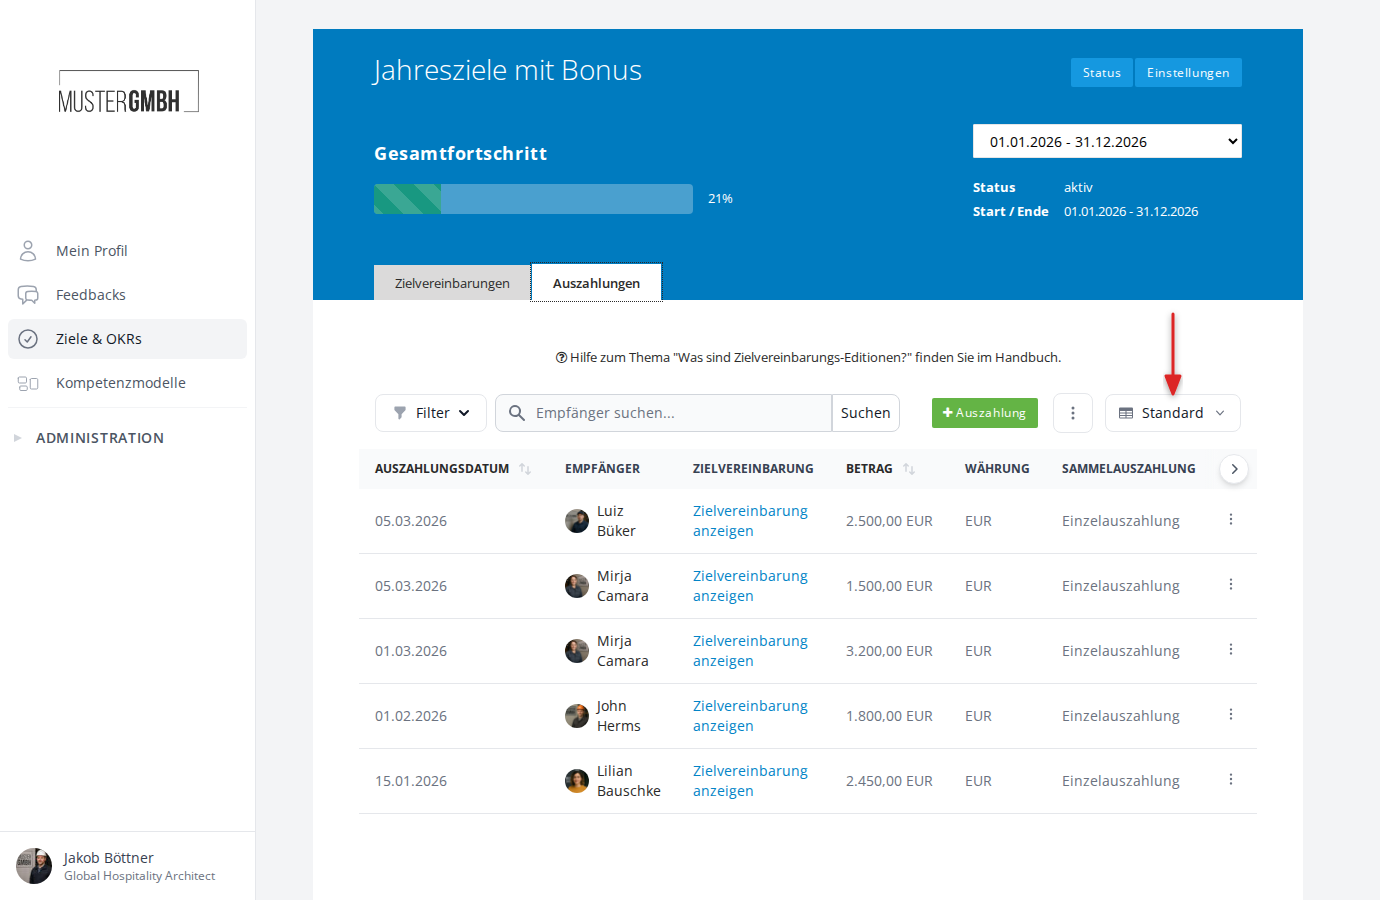
Each configuration stores which columns are shown in the table and in what order. You can create several configurations, for example one for payroll and one for the monthly overview.
Switch between configurations
Click the view selector to open the menu. There you see all your configurations. The active one is marked with a check mark. Click another configuration to activate it. The table reloads immediately with the columns of the chosen configuration.
Edit columns
- Click the view selector and choose “Edit columns”.
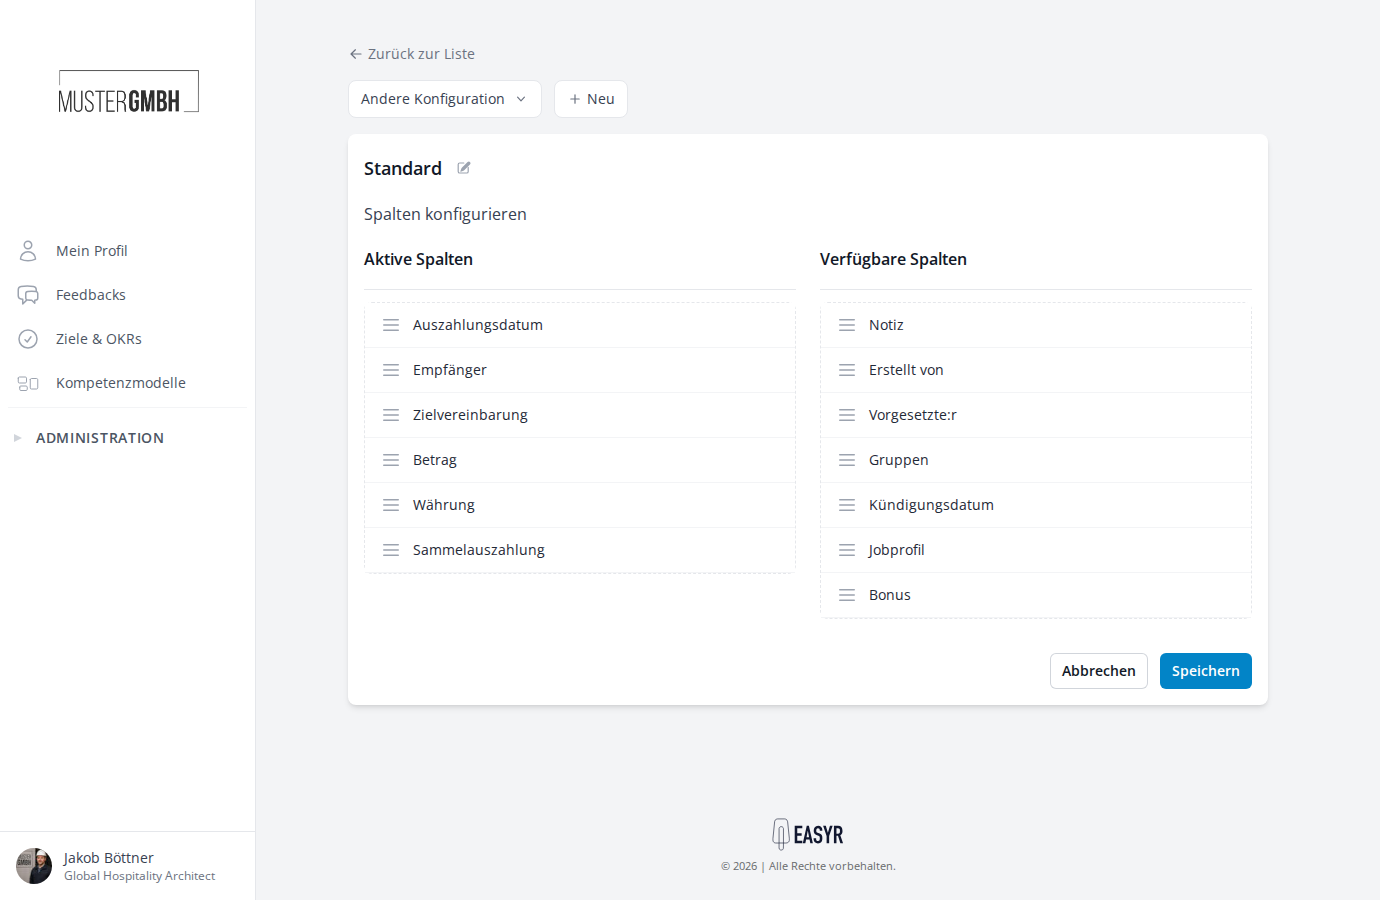
- The “Configure columns” page opens with two lists: Active columns (left) and Available columns (right).
- Drag columns from right to left to add them to the table. Drag columns from left to right to remove them.
- Arrange the active columns by drag and drop in the order you want.
- Click “Save” to apply the changes.
Create a new configuration
- Click the view selector and choose “Edit columns”.
- At the top, click ”+ New”.
- Enter a name for the new configuration (for example “For payroll”).
- Click “Create”.
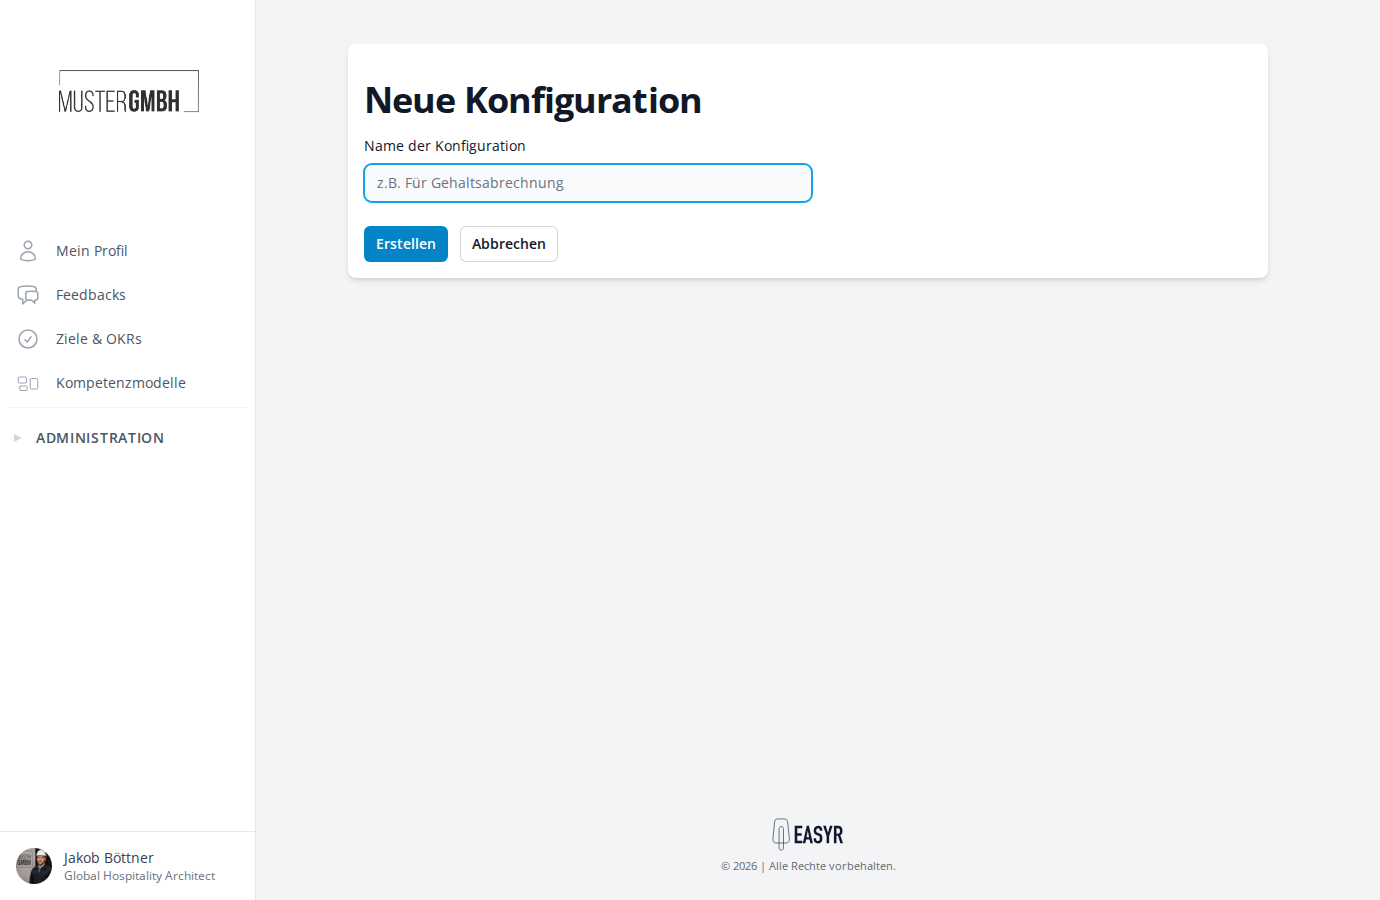
The new configuration is activated immediately and you land on the “Configure columns” page, where you can choose the columns you want.
Delete a configuration
Open the “Configure columns” page for the configuration you want to delete. At the top right you find the “Delete” button. After a confirmation prompt, the configuration is removed and another configuration is activated automatically.
Actions per payout
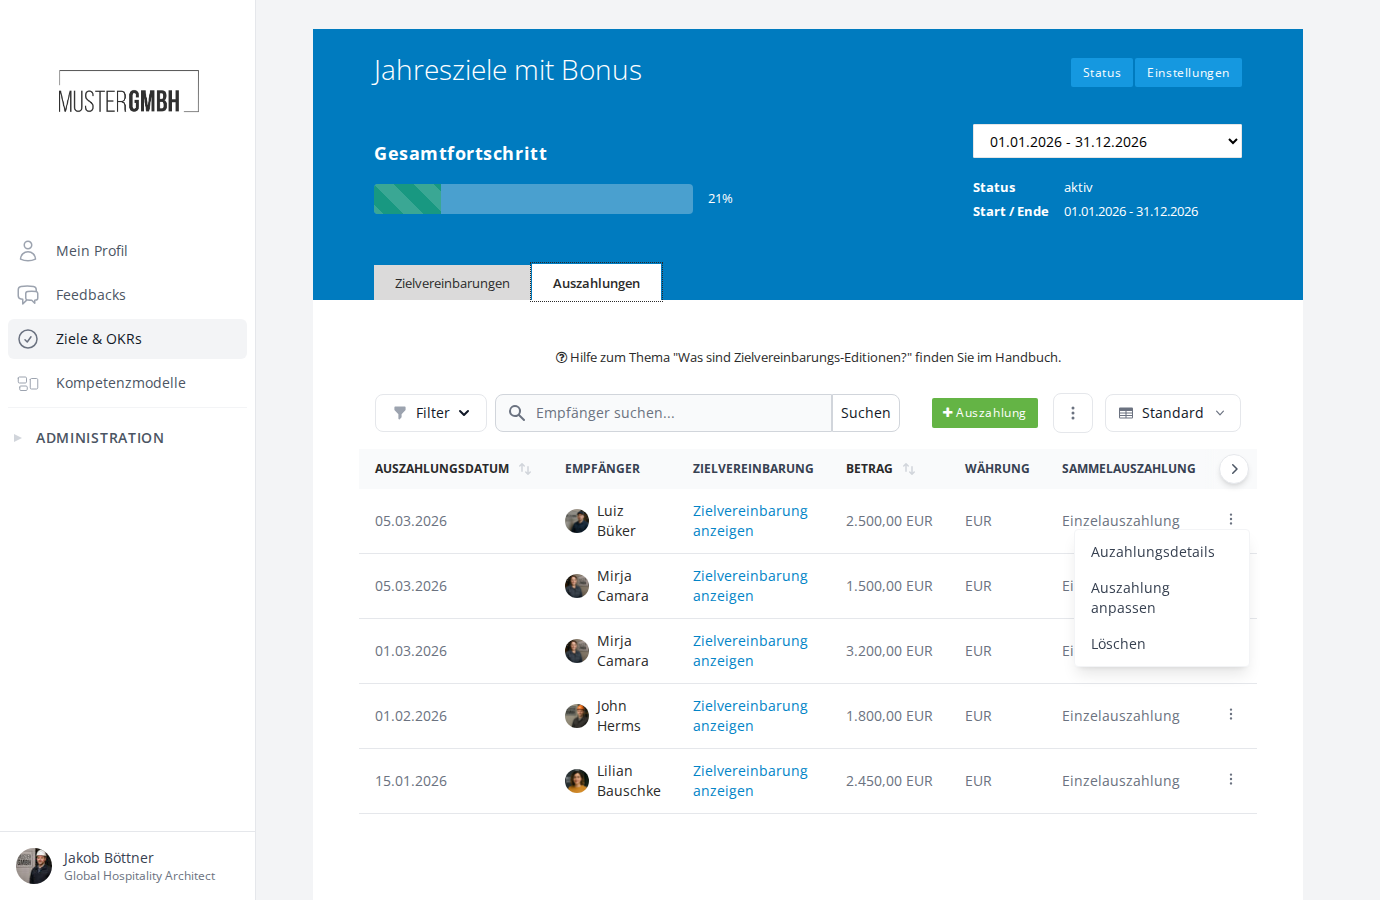
To the right of each payout is a three-dot menu (⋮) with the following options:
- Payout details: Opens the payout’s detail view.
- Update payout: Opens the edit form to change the amount, date or note.
- Delete: Removes the payout after a confirmation prompt.
Detail view of a payout
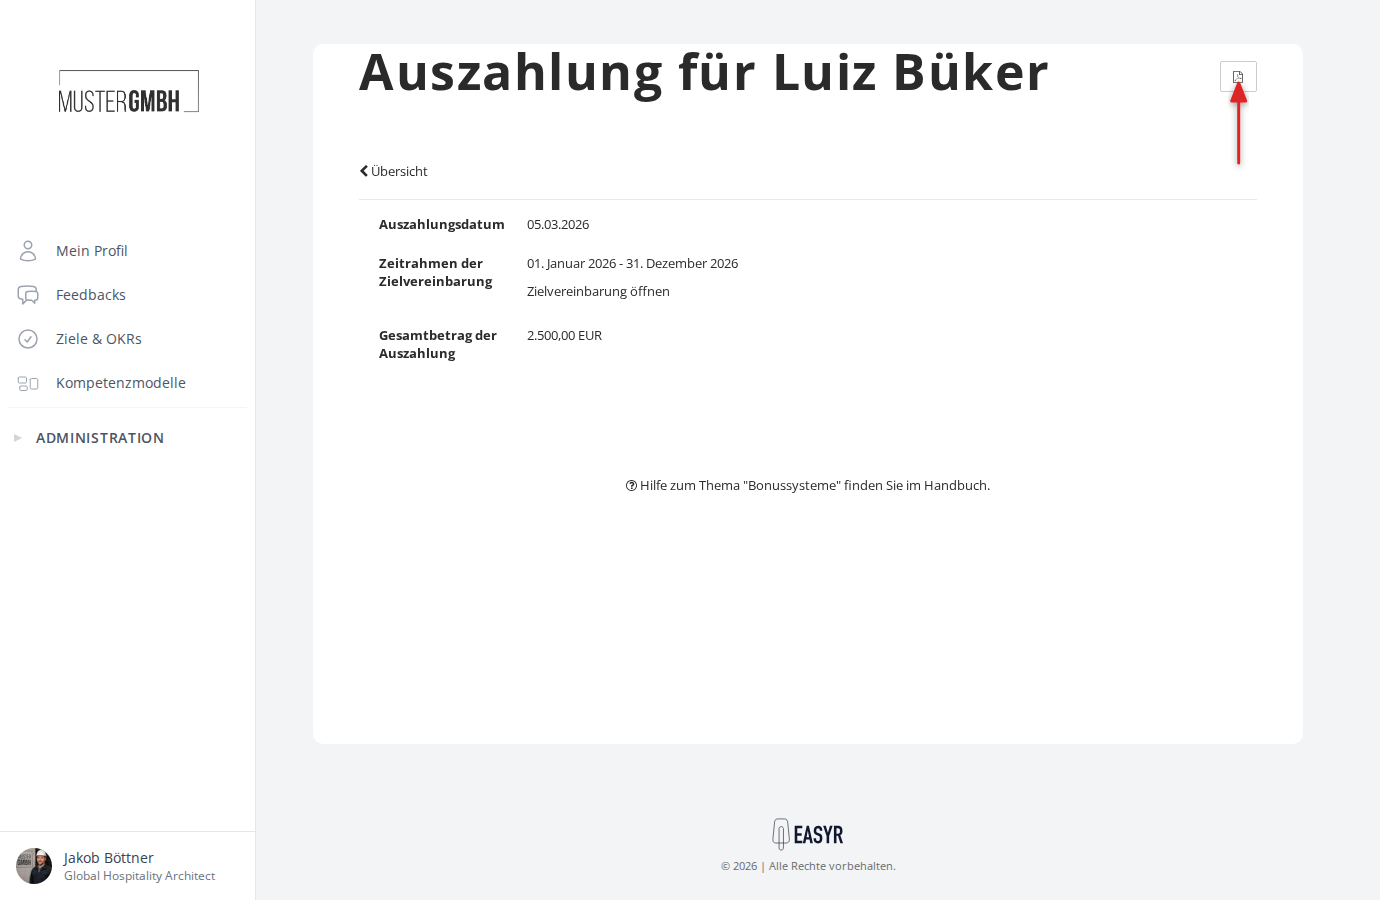
When you choose “Payout details” from the menu, a detail page opens with the following information:
- Payout date: The date of the payout.
- Timeframe of the target agreement: The start and end period of the edition. Below it is an “Open target agreement” link that leads directly to the recipient’s target agreement.
- Total payout: The amount paid out, with currency.
At the top right of the detail page you can download the payout as a PDF.
Use the “Overview” link at the top left to return to the payout list.
More options
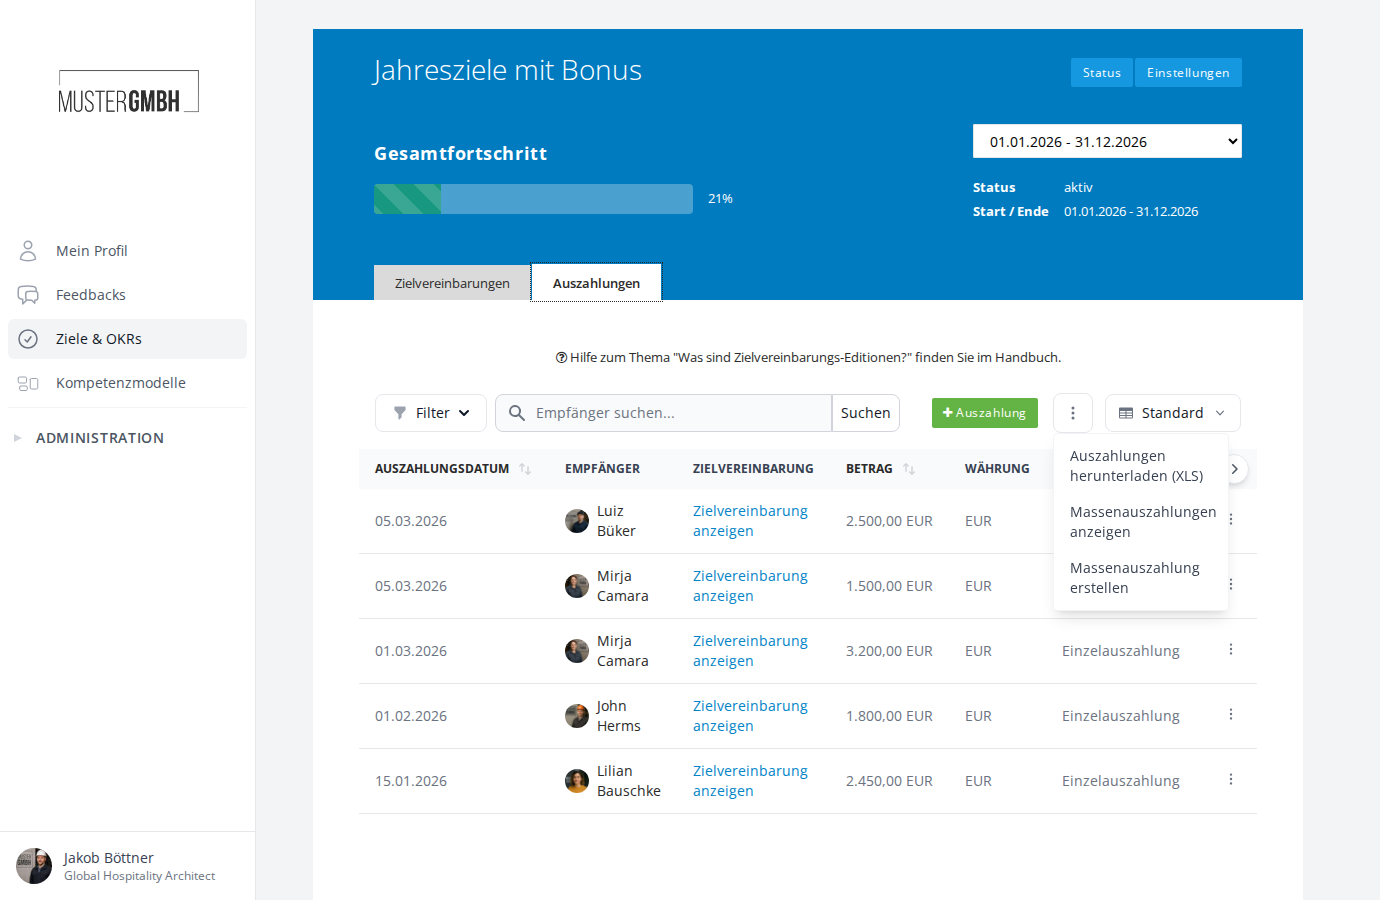
Use the three-dot menu (⋮) to the right of the “Payouts” button to reach further functions:
- Download payouts (XLS): Exports all payouts of the current edition as an Excel file.
- View Bulk Payouts: Shows an overview of all bulk payouts that have been run.
- Create Bulk Payout: Starts the process for a new bulk payout.